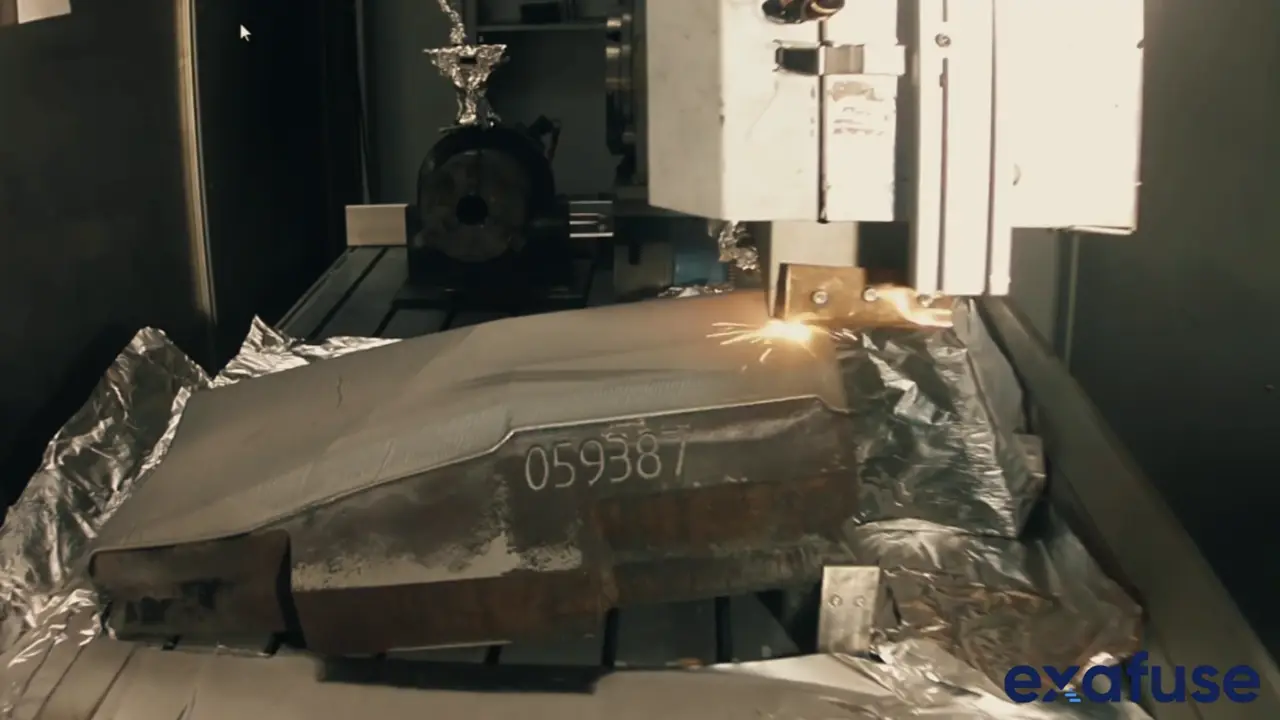
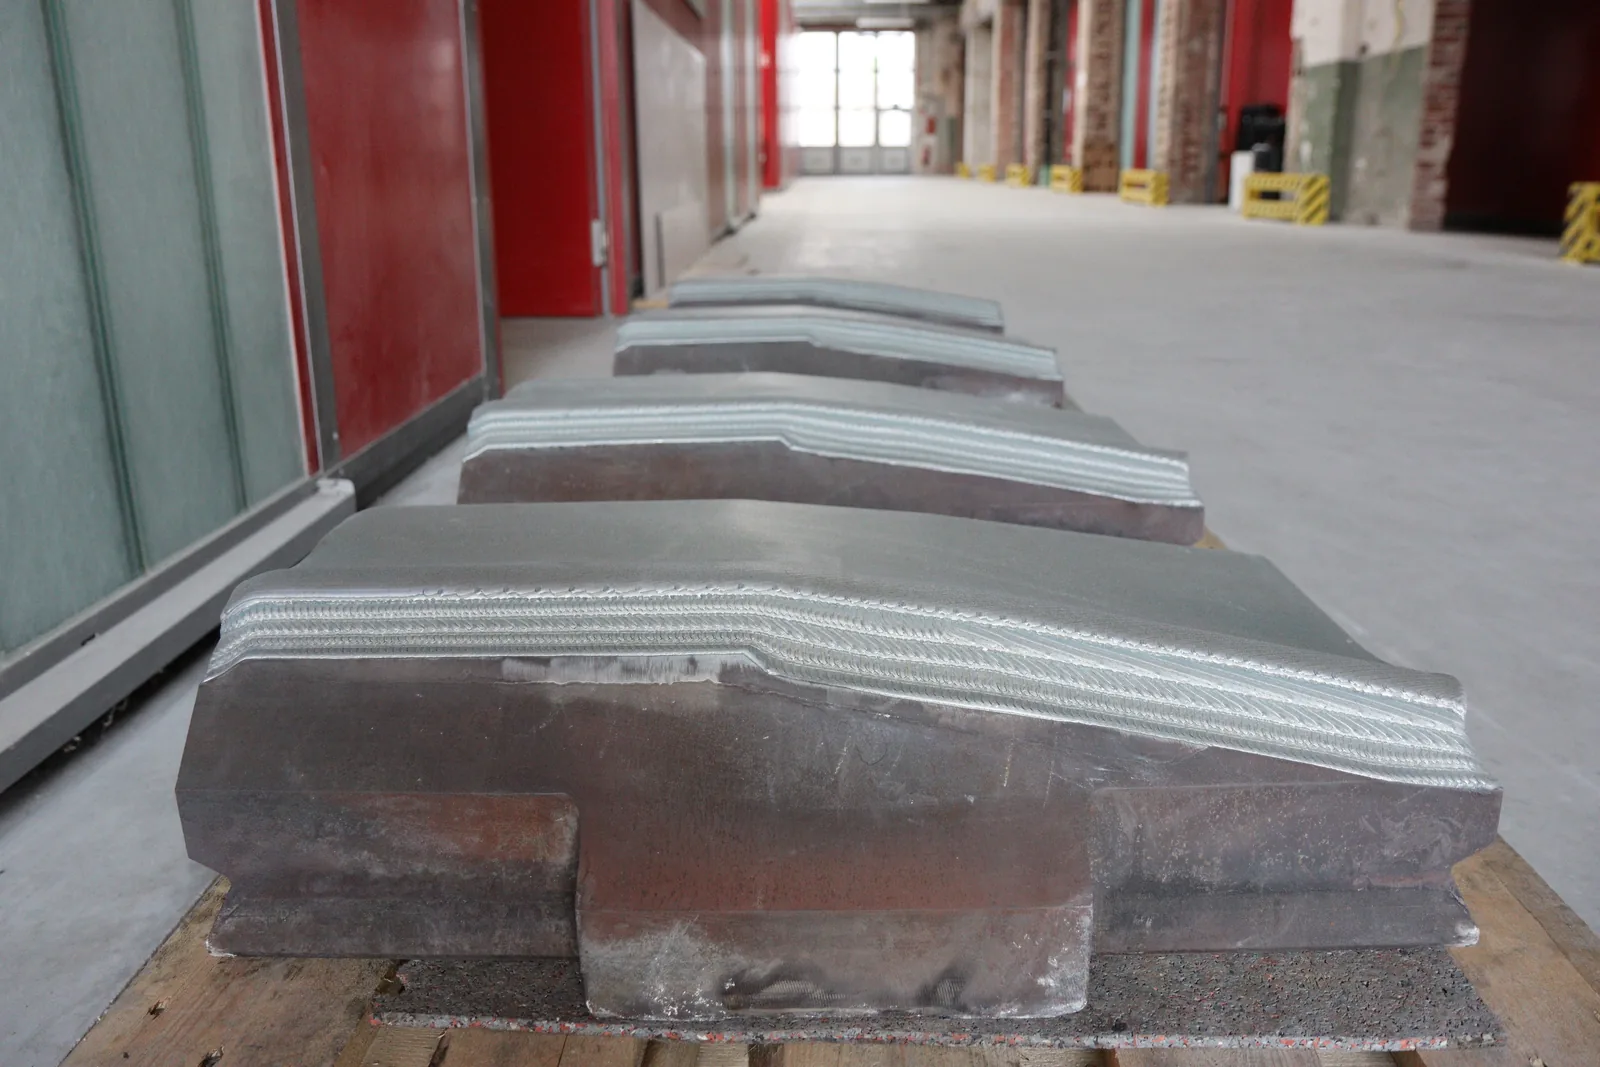
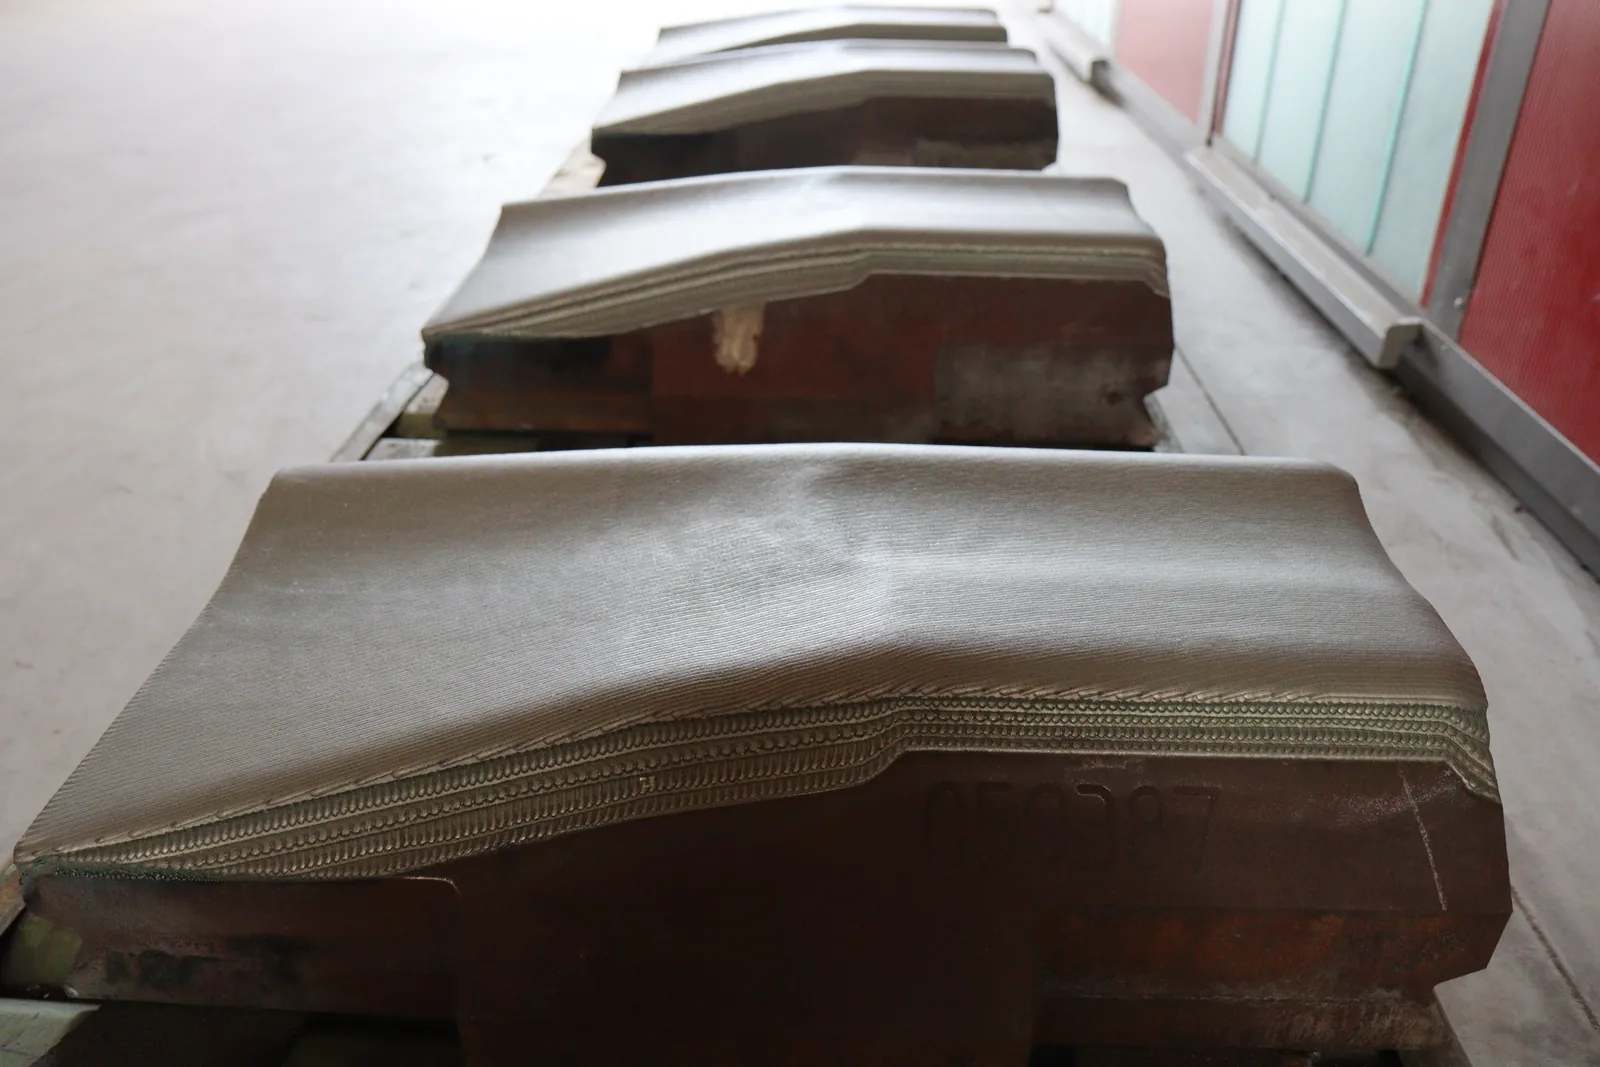
Forging hammers lose value locally: the working face takes repeated impact, abrasive scale, heat and deformation while the main hammer body can still be worth keeping. The practical question is whether the damaged surface can be prepared, rebuilt, reinforced and finished into a usable working geometry instead of replacing the whole tool.
Case snapshot
| Component | Forging hammer / hammer working face / high-impact tooling surface |
|---|---|
| Use cases | Repair of damaged hammers and protective coating of new or prepared hammer faces |
| Damage drivers | Impact wear, abrasive scale, heat, local deformation, cracks, oxides and geometry loss |
| Route | Surface preparation, LMD build-up or coating, finishing and inspection planning |
| Layer logic | Local reinforcement can be planned where geometry and hammer duty justify it, including the approved 10-20 mm context for this proof story |
| Decision value | Compare repair and coating against replacement pressure, downtime, final geometry and evidence requirements |
Why forging hammers are repair candidates
A hammer face can be worn, cracked or locally deformed while the rest of the tool is still valuable. LMD is relevant because it adds material only where the hammer needs geometry recovery or surface function. That makes the repair discussion different from buying a completely new hammer, but it also means the starting condition must be understood before the route is selected.
The case is useful for maintenance, tooling and procurement teams because it connects the full chain: incoming damage, preparation, local LMD build-up, finishing, inspection context and the information needed for a repair-versus-replacement decision.
Incoming condition and preparation
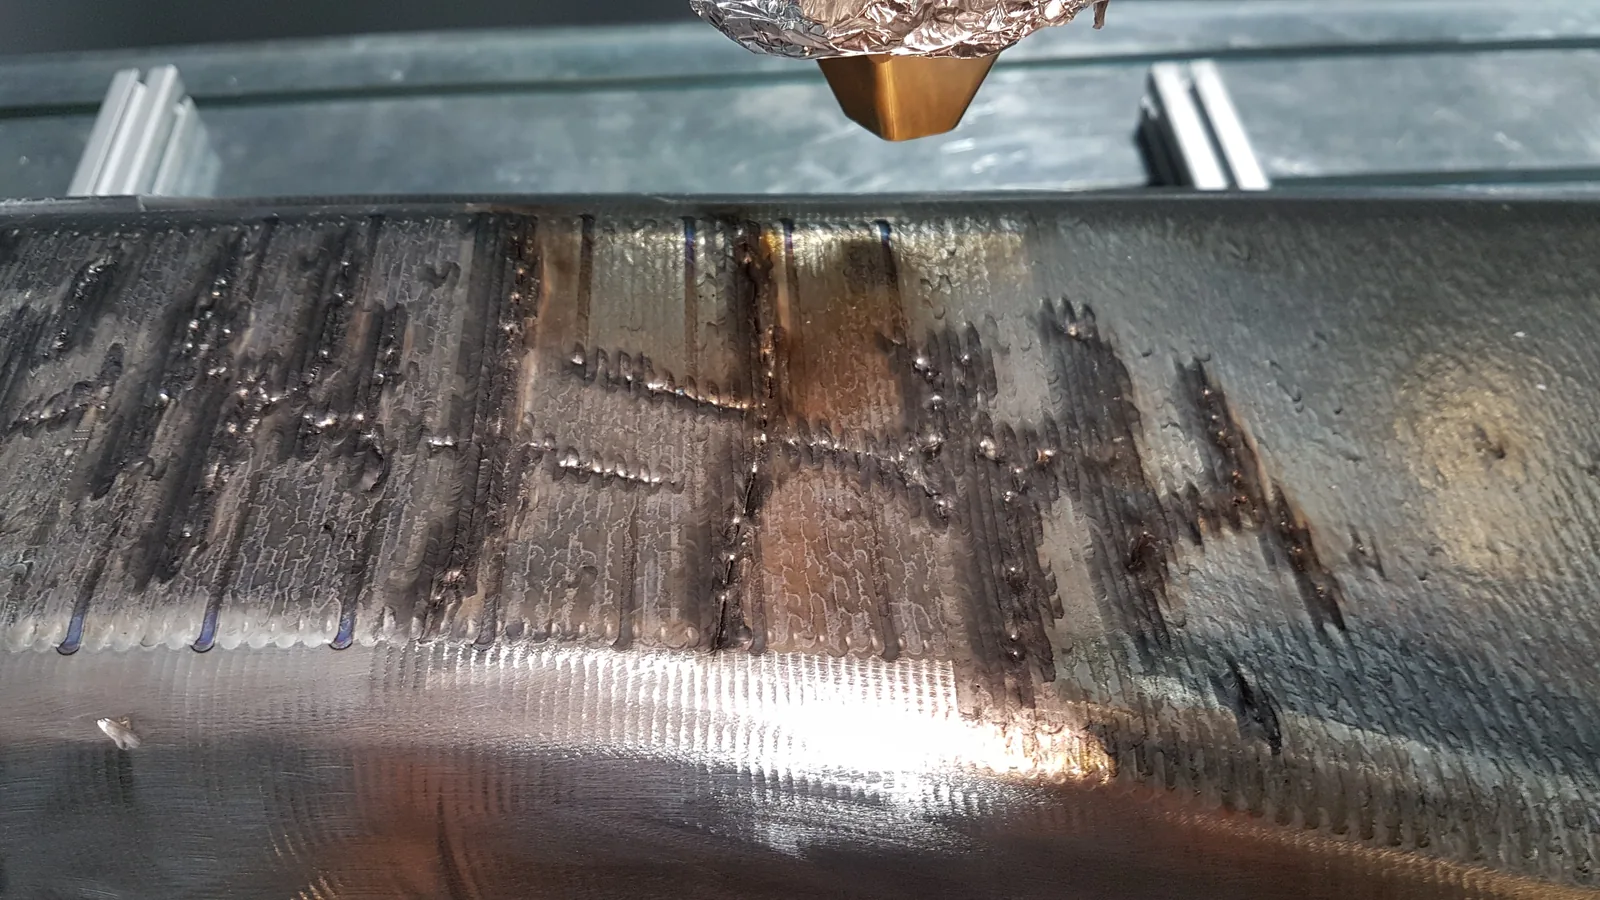
The first technical decision is the hammer condition before deposition. Oxides, previous repair marks, visible cracks, fatigue zones and missing geometry cannot be hidden below a new layer. The surface must be reviewed and prepared so the deposition boundary and finishing allowance are clear.
Depending on the part, preparation can include grinding, blasting, machining, crack review, local removal of damaged material and a final check of the deposition zone. For new hammers, the same discipline applies because a coating still needs a clean, measurable starting surface.
LMD build-up and reinforcement
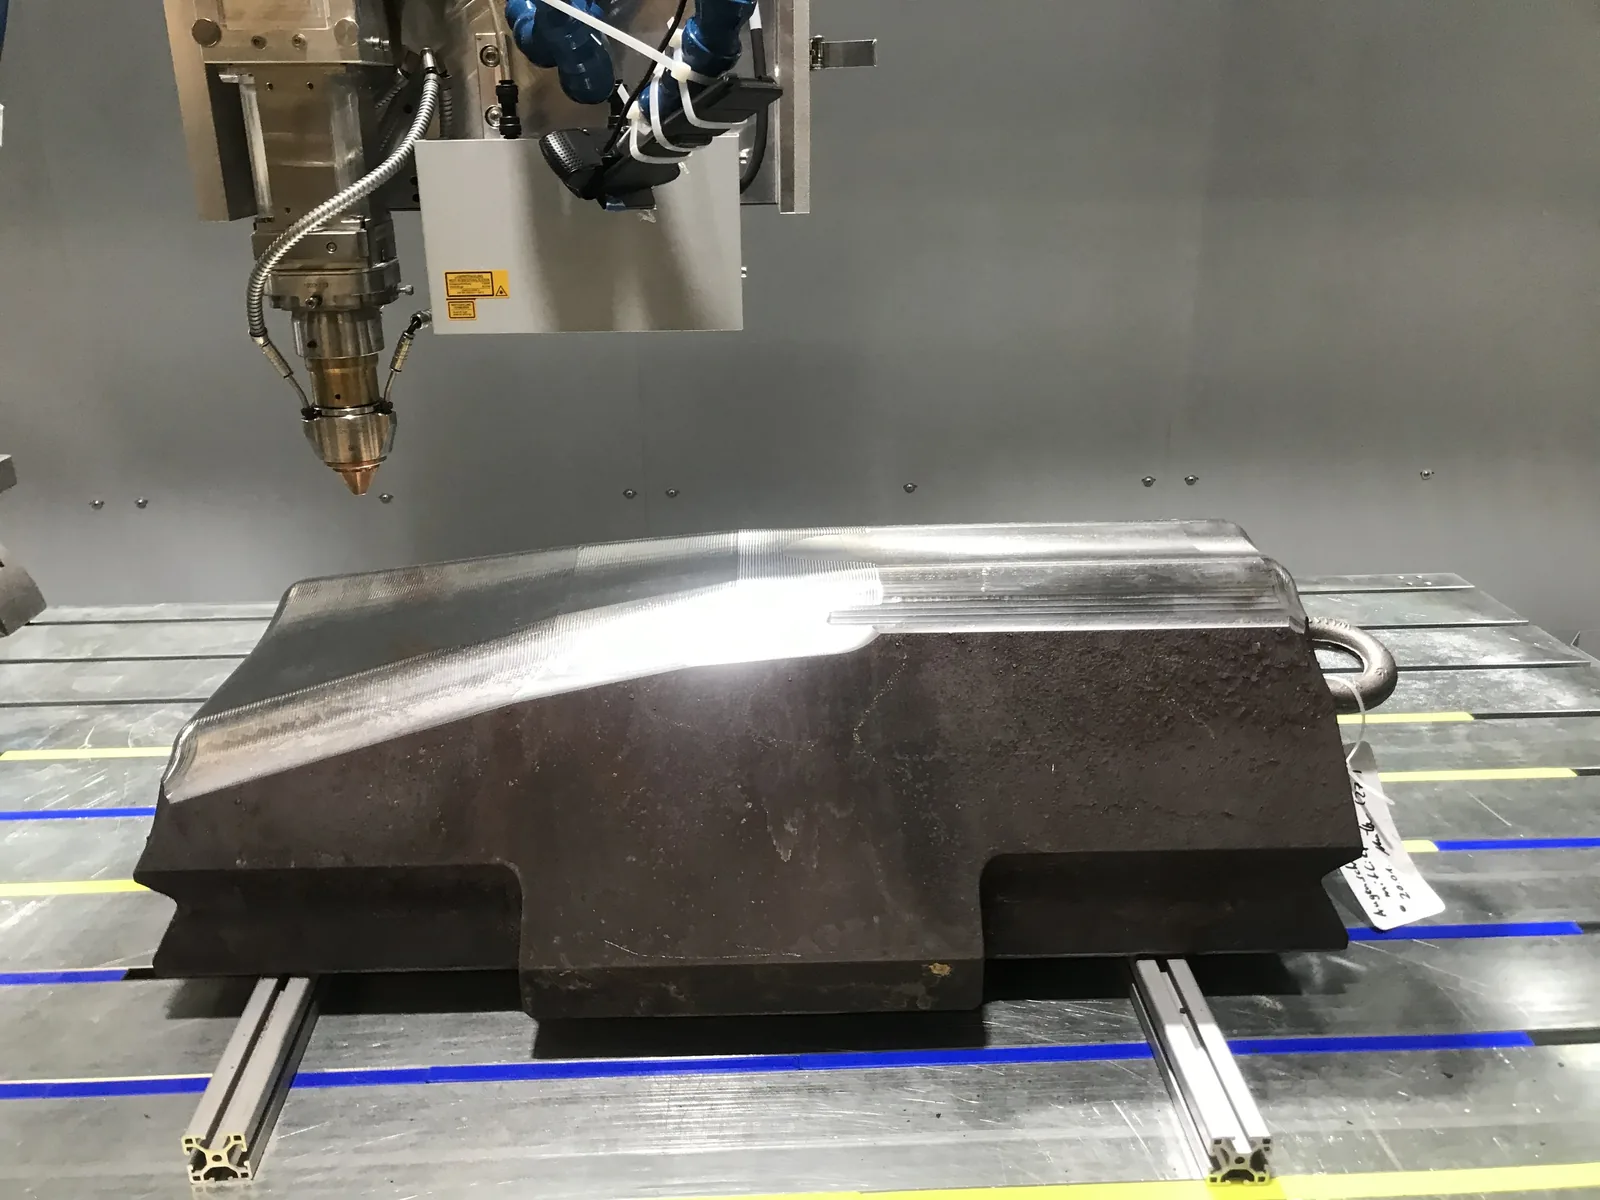
Laser Metal Deposition uses a laser and metal powder to create a metallurgical bond to the substrate. For forging hammers, the route is not simply about making the surface hard. It is about balancing wear resistance, toughness, dilution, crack risk, machinability and final working geometry.
The approved proof context for this hammer work includes local reinforcement layers in the 10-20 mm range where hammer condition and repair target justify that scale. Final lifetime expectations depend on the agreed duty, material route, finishing and inspection package. The useful lesson is that layer strategy, material family, finishing and inspection have to be planned together.
Round die coating with Inconel 625 and laser polishing
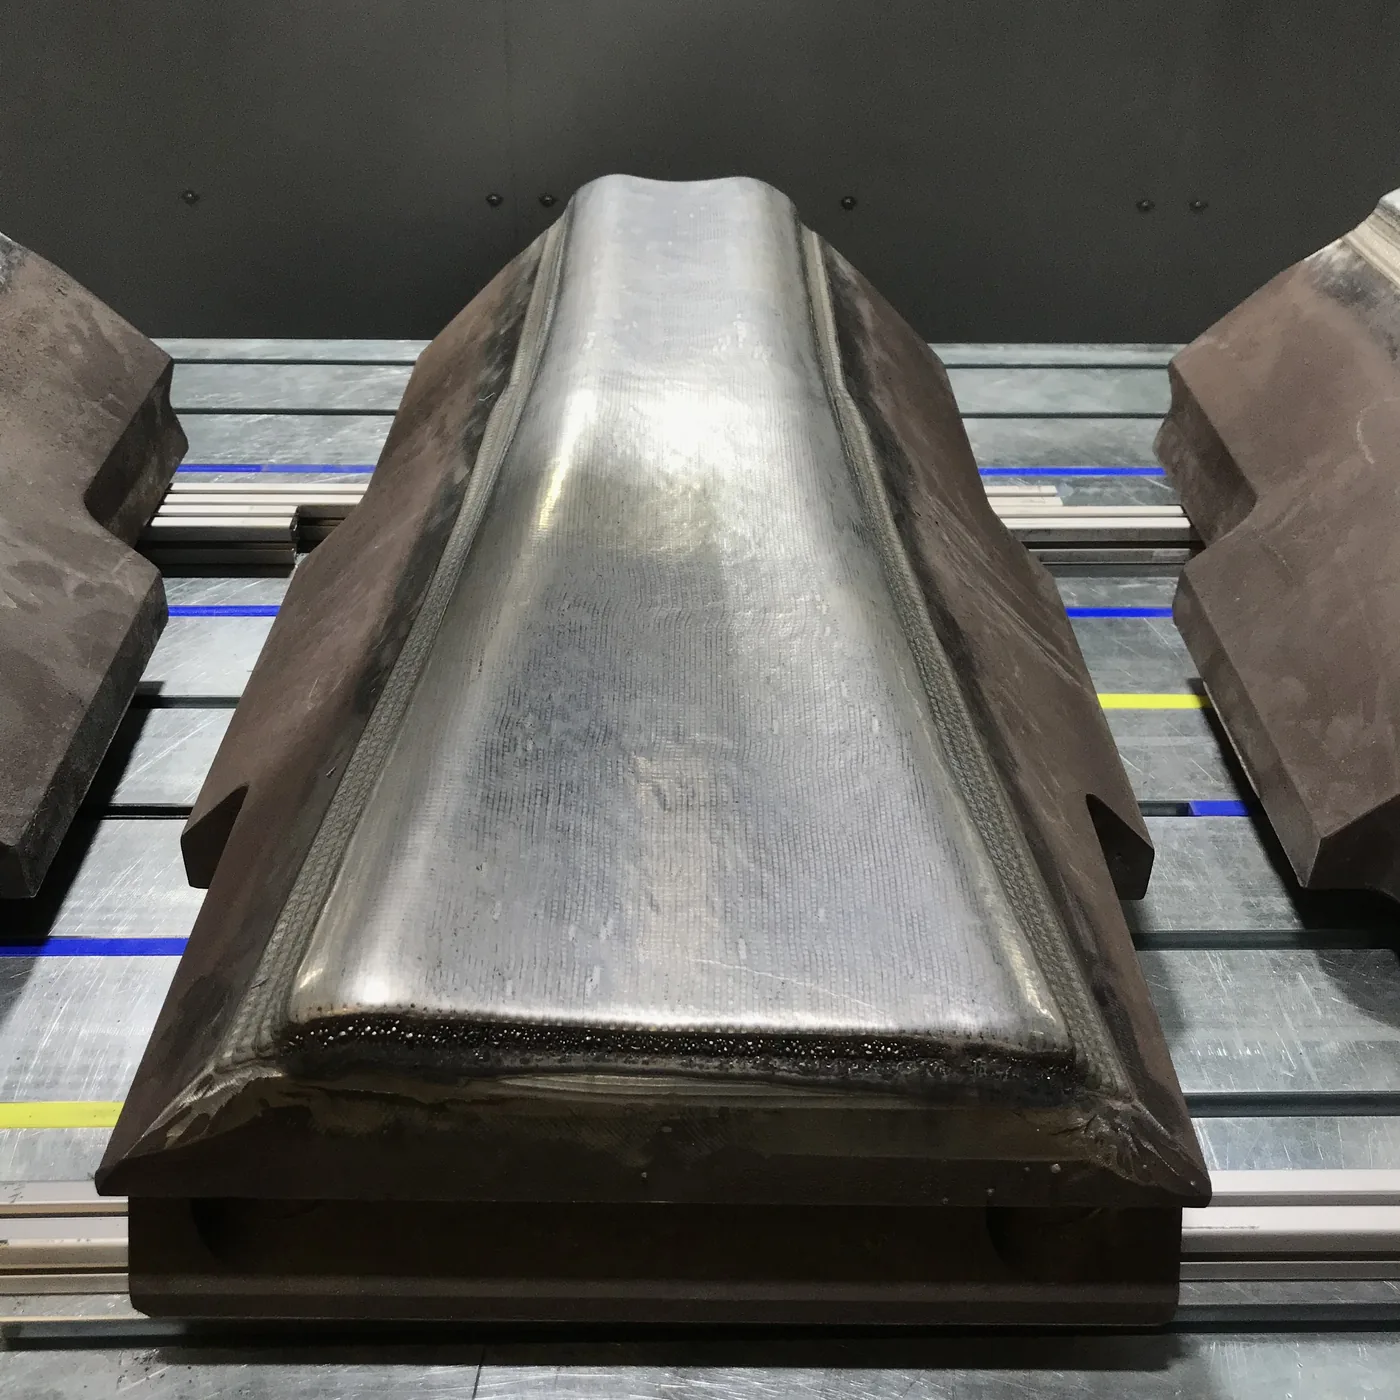
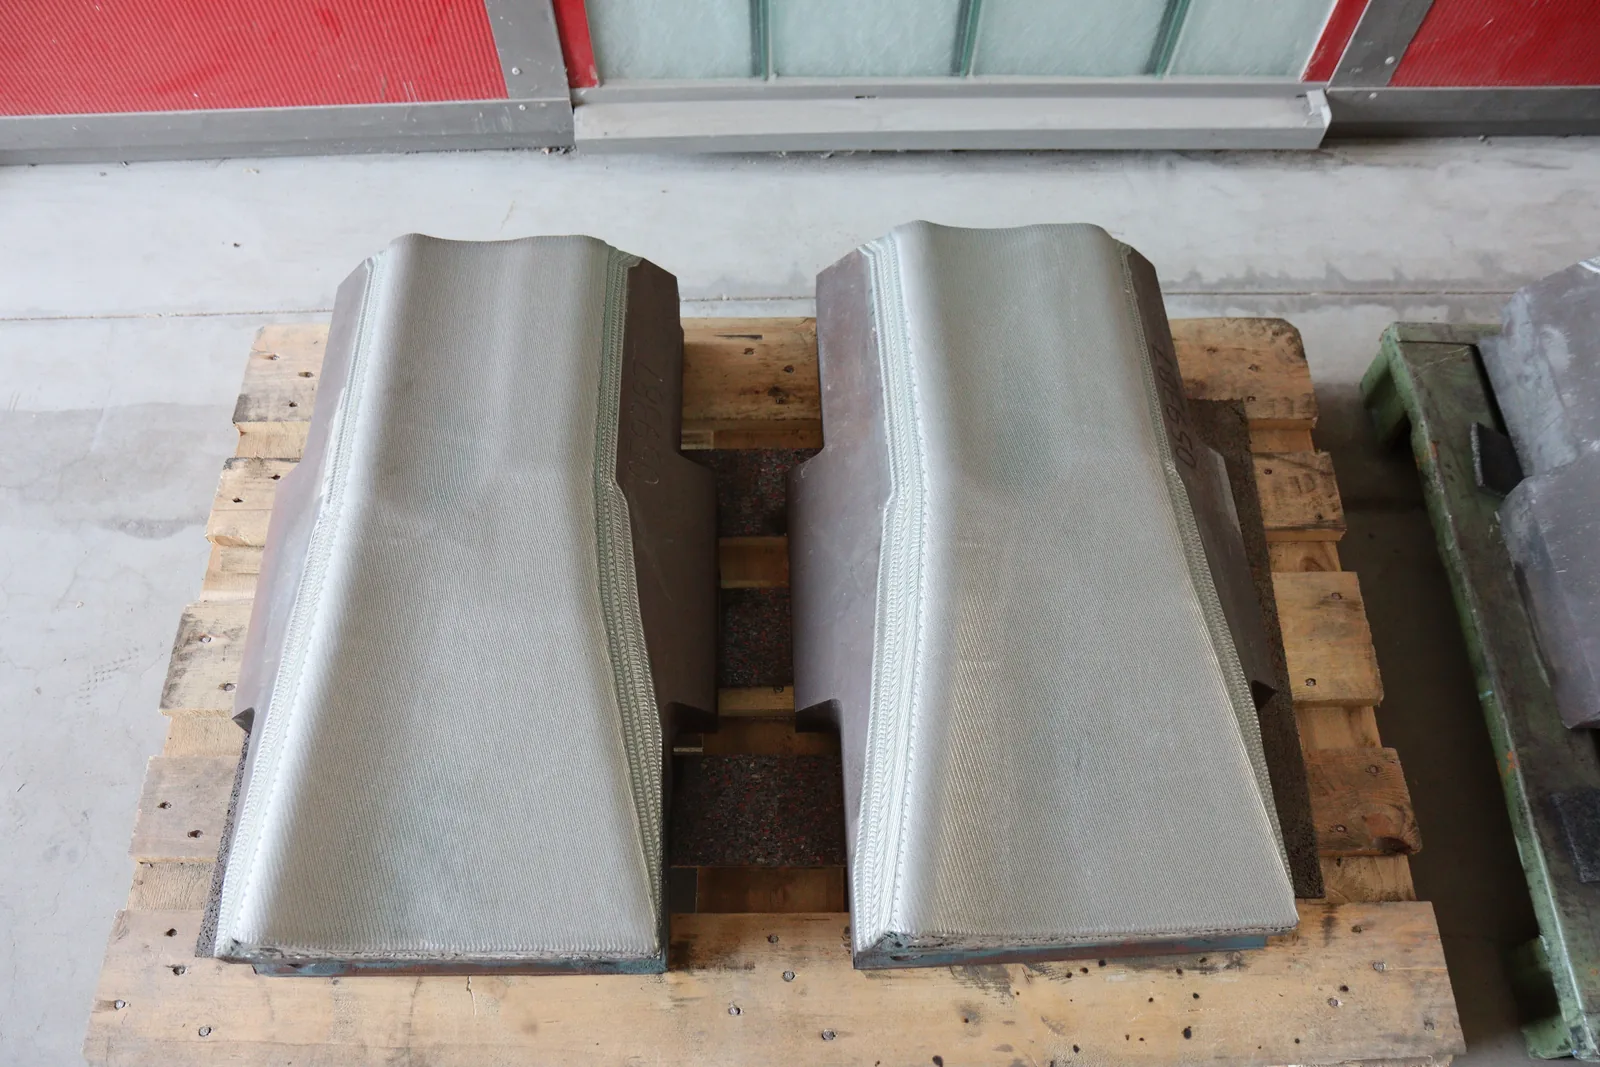
The same repair-and-surface-function logic also applies to round forging dies. In one Exafuse proof example, round dies with a 170 mm radius were given a contour-following coating. The publication-ready project description is a 20 mm thick Inconel 625 coating on the round-die working surface, followed by laser polishing to improve the surface quality before further review.
This is useful because the coating follows the working geometry instead of treating the die as a flat plate. For buyers, the important point is not only the alloy name. It is the complete route: define the die radius and working zone, prepare the surface, deposit enough material for the function, improve the surface condition by laser polishing, then decide what finishing and inspection evidence is still needed.
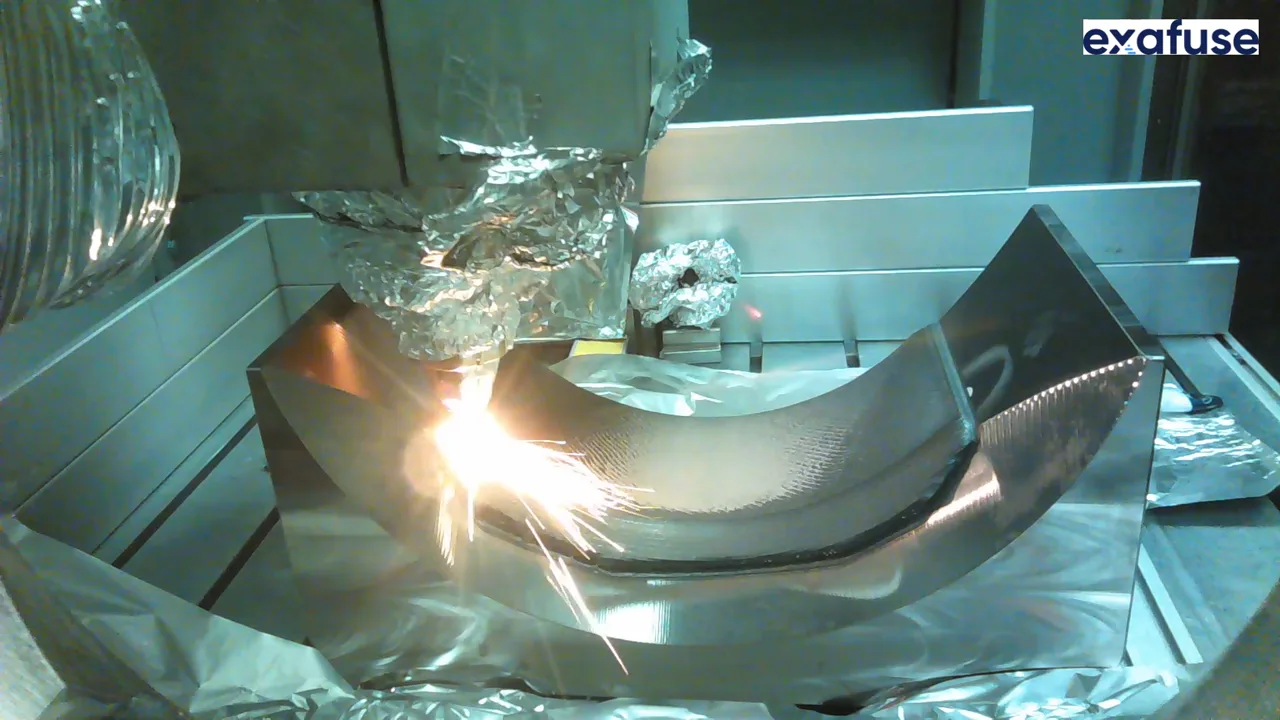
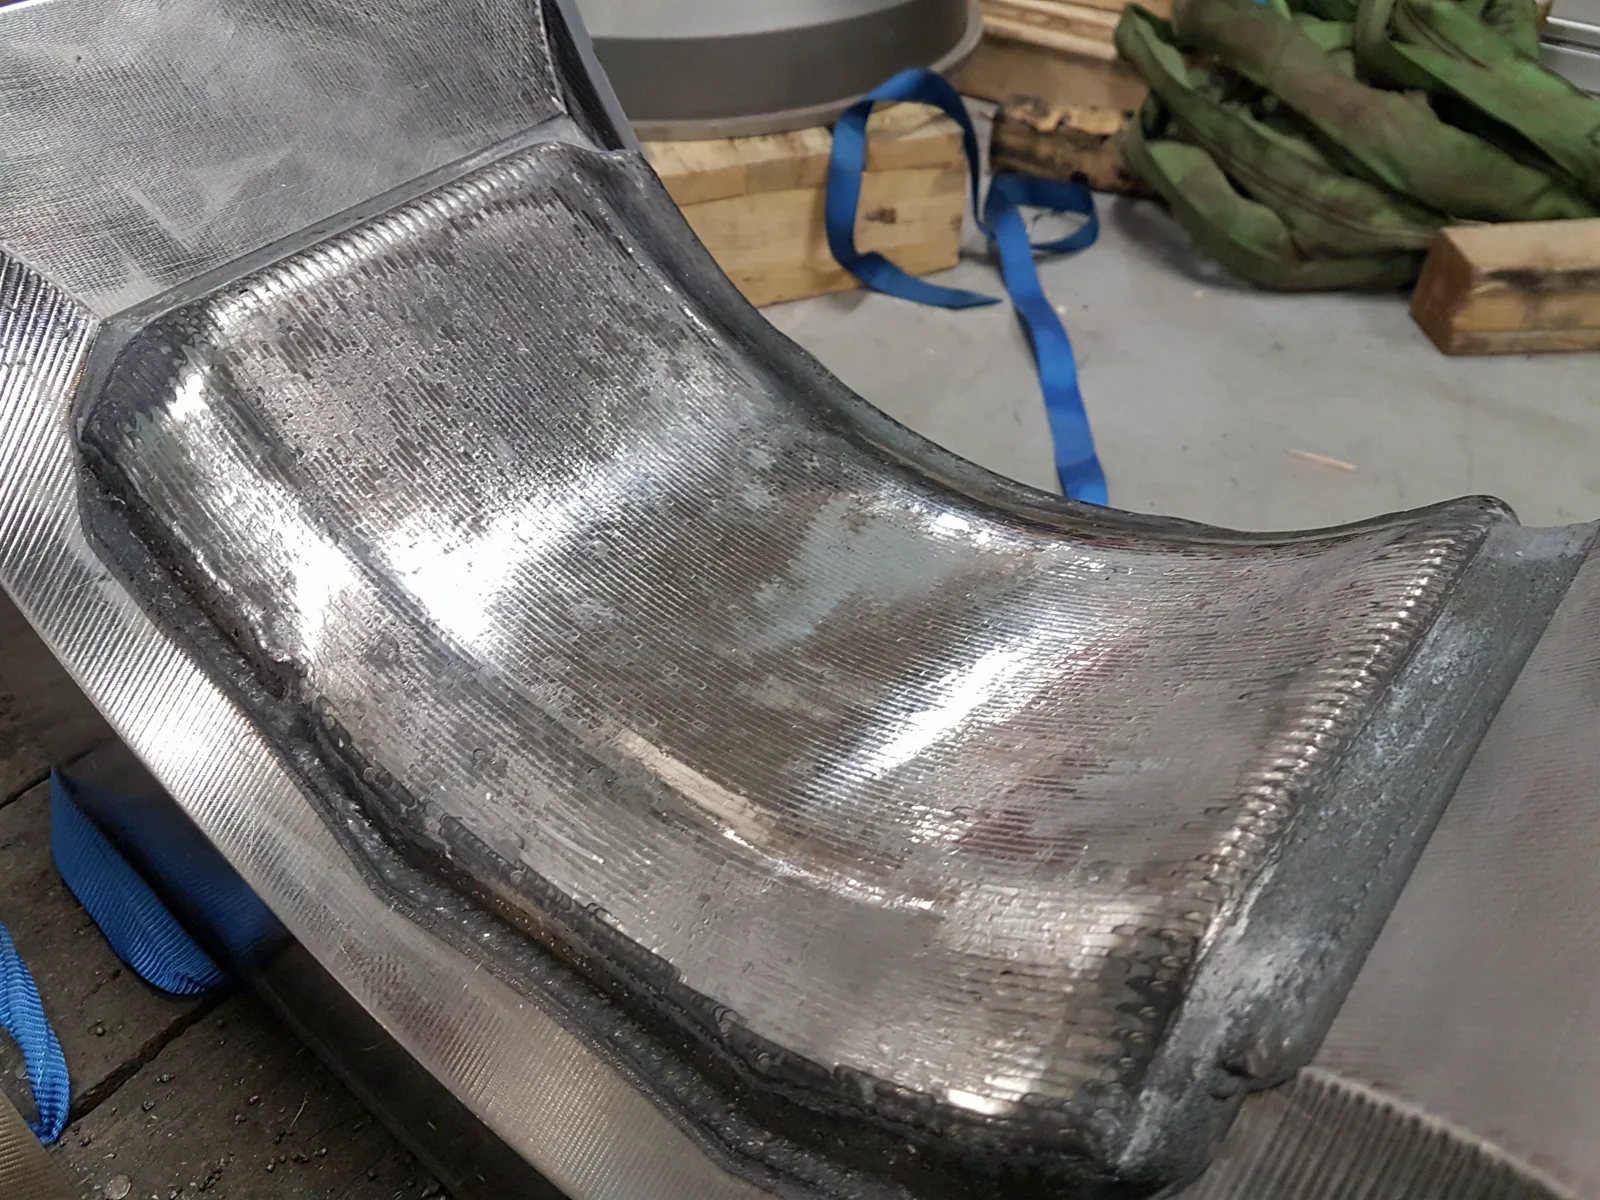
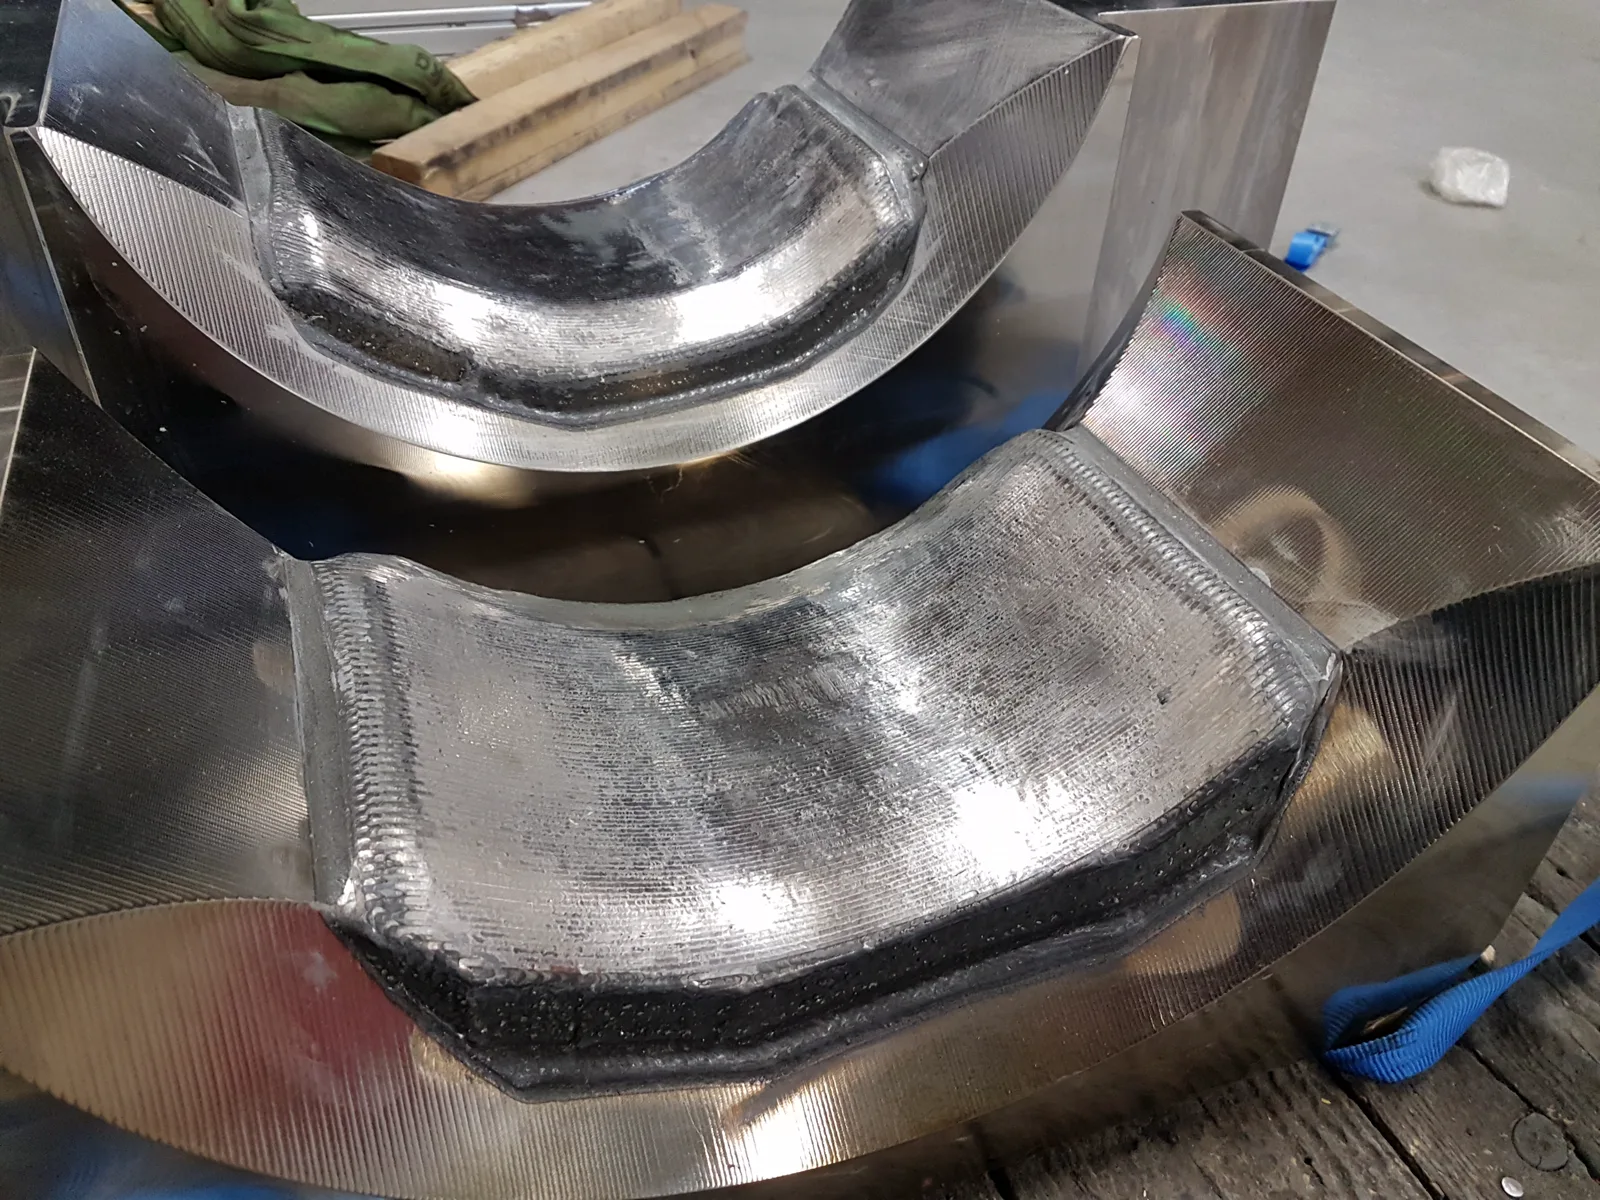
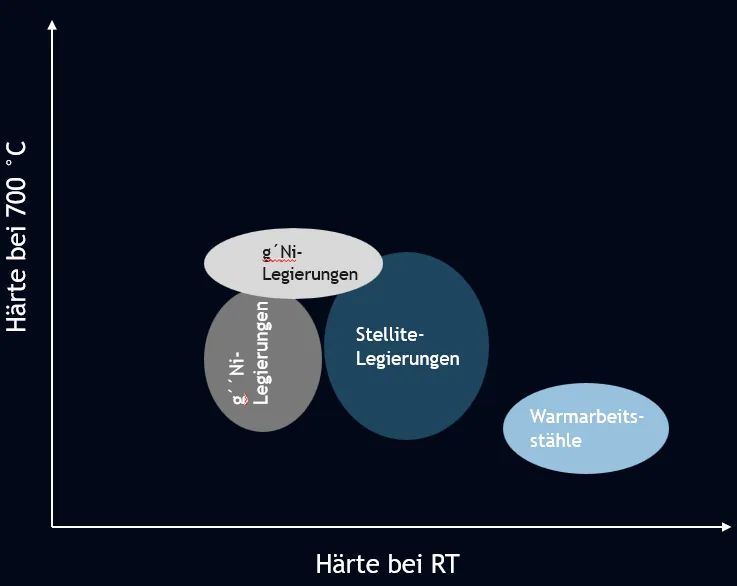
Inconel 625 is a useful Ni-based public example for this page, but it should not be treated as the default answer for every hammer, die or forging-tool surface. Depending on impact duty, abrasive wear, temperature, base material and finishing route, other Ni-, Co- or Fe-based mixtures, and in some cases carbide-containing coating concepts, may be more suitable. The material decision still needs substrate compatibility, cracking risk, dilution, machinability and inspection to be reviewed together.
- Advantage: thick local coating can add surface function where the tool actually works.
- Advantage: contour-following deposition can support curved die surfaces better than a flat proof coupon.
- Advantage: laser polishing can reduce the as-deposited surface texture before later finishing or inspection decisions.
- Claim boundary: the image and video proof do not publish roughness, hardness, lifetime, exact parameter or acceptance values.
- Claim boundary: final alloy choice may be different from Inconel 625 when the duty requires another wear, heat or impact balance.
LMD compared with thermal spraying
Thermal spraying can be useful for some surface applications. A forging hammer, however, is not a low-load cosmetic surface. The working face sees repeated impact, so the route has to consider metallurgical bonding, layer support, thickness, toughness and how the final surface will be machined or ground.
The fair comparison is not "one technology is always better." It is whether the selected route can survive the hammer duty and produce the evidence needed for release. LMD becomes relevant when the project needs local material addition, a bonded layer and a finishable working face.
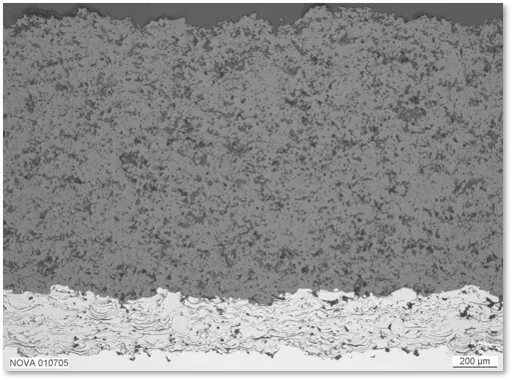
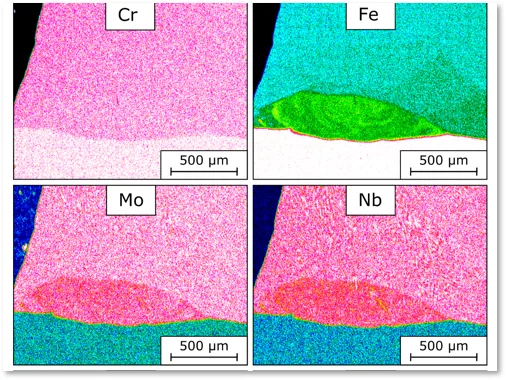
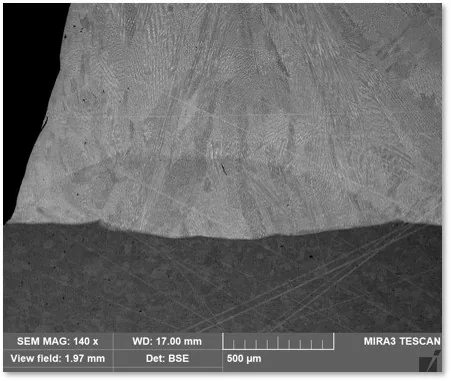
Finishing turns deposition into a usable tool
Material addition is not the final condition. After LMD, the hammer face has to be brought back toward the required shape, contact surface and release condition. That can involve machining, grinding, polishing, dimensional checks and surface inspection depending on the hammer and acceptance target.

Evidence: not one hardness number
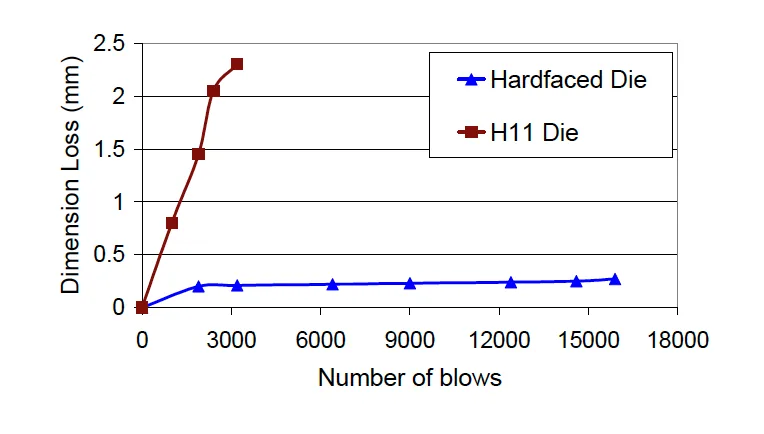
A strong hammer repair discussion is evidence-led. Hardness can matter, but it does not replace bond quality, dilution, crack status, heat-affected zone, toughness, geometry and finishing. For high-impact tooling, Exafuse treats the inspection route as part of the repair conversation instead of an afterthought.
What to send for a hammer review
- Photos of the hammer face, side areas and affected zones.
- Whether the hammer is new, worn, cracked, pre-machined or previously repaired.
- Drawing, CAD or key dimensions if available.
- Base material and heat-treatment history if known.
- Wear depth, target geometry and required surface finish.
- Operating duty, replacement interval, failure history or hit-count context if available.
- Inspection, hardness, microstructure or documentation requirements.
- Replacement cost and lead time if the repair economics is part of the decision.
The practical decision is not just whether LMD can be applied. The useful decision is whether the hammer condition, material route, finishing plan and acceptance criteria make a defensible repair or coating route.
Request a forging hammer repair review or compare the route with the repair ROI tool.